
Table of Contents
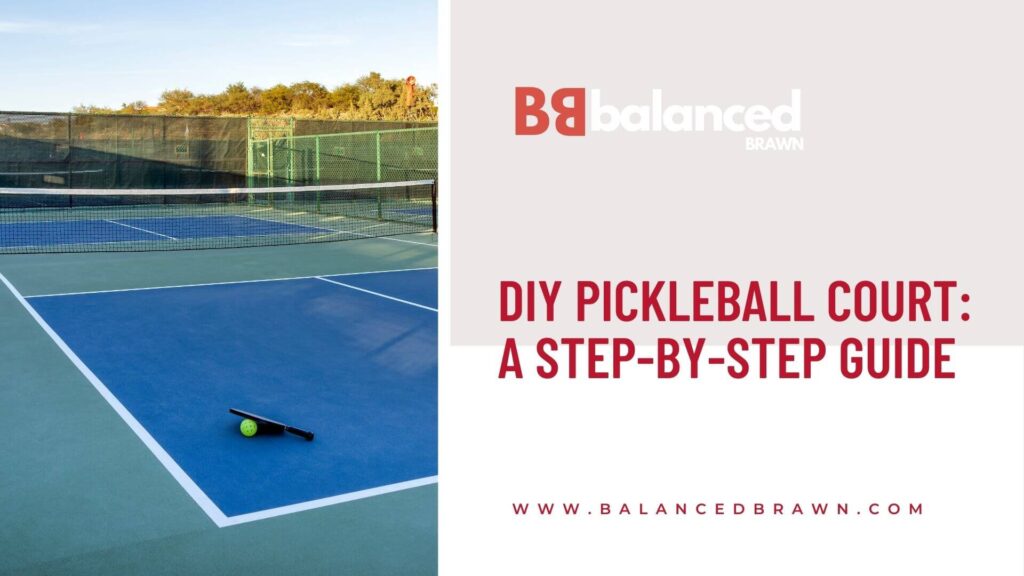
Pickleball is a sport that has captured the hearts of many, combining elements of tennis, badminton, and table tennis. If you’re a pickleball enthusiast, you might have considered having your own court. Building a DIY pickleball court can be a rewarding project, providing endless hours of enjoyment for you, your friends, and your family. In this comprehensive guide, we’ll walk you through the process of creating your own pickleball court from start to finish.
Planning Your Pickleball Court

– Location Selection
The first step in creating a DIY pickleball court is choosing the right location. Whether you have a spacious backyard or a large driveway, the area should be flat and free of obstructions. Ideally, the court should be oriented north-south to minimize sun interference during play.
– Size and Dimensions
Understanding the dimensions of a pickleball court is crucial for planning. A standard pickleball court measures 20 feet wide by 44 feet long for both singles and doubles play. These measurements include the non-volley zone, often referred to as the kitchen, which is 7 feet from the net on each side. For more detailed information on court dimensions, visit How Big is a Pickleball Court?.
– Permits and Regulations
Before you start building, check with your local authorities to see if you need any permits. Additionally, ensure that your project complies with zoning laws and homeowners association regulations, if applicable.
Materials and Tools Needed
To build a pickleball court, you’ll need specific materials and tools. Here’s a comprehensive list:
– Materials
- Concrete or asphalt (for the base)
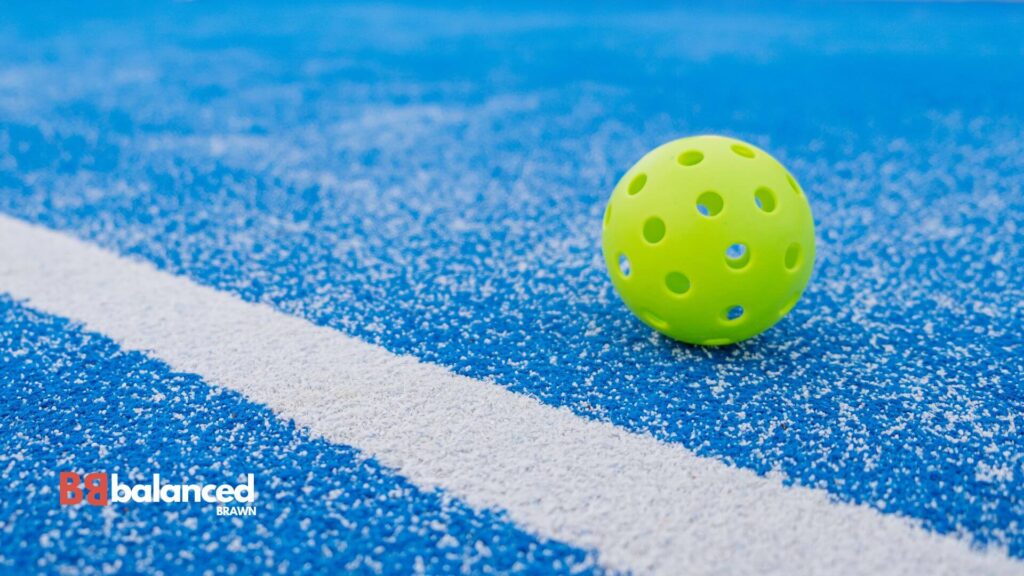
- Pickleball net
- Paint for lines (acrylic or latex)
- Line tape (optional)
- Gravel and sand (for sub-base)
- Edging material (optional)
- Windbreaks or fencing (optional)
– Tools
- Measuring tape
- Level
- Shovel
- Rake
- Wheelbarrow
- Roller or compactor
- Paint roller or sprayer
- Chalk line
Preparing the Site
– Clearing and Leveling
Begin by clearing the area of any debris, rocks, or vegetation. Once the site is clear, level the ground using a shovel, rake, and a level. This step is crucial for ensuring a smooth playing surface.
– Installing the Sub-base
The sub-base provides stability and drainage for your court. Spread a layer of gravel about 4 inches thick across the site, then compact it using a roller or compactor. Add a 2-inch layer of sand on top of the gravel and level it.
Building the Court Surface
– Choosing the Surface Material
Concrete and asphalt are the most popular choices for pickleball courts. Both materials provide a durable, low-maintenance surface with consistent ball bounce. If you want to get miore insights into pickleball court surfaces, read our in-depth guide.
- Concrete: Durable and long-lasting, concrete is an excellent choice for a pickleball court. However, it can be more expensive and requires professional installation.
- Asphalt: Easier and cheaper to install than concrete, asphalt also provides a smooth, durable playing surface. It does require occasional maintenance to prevent cracks.
– Pouring the Concrete or Asphalt
If you’re using concrete, hire a professional to pour and finish the slab to ensure it’s done correctly. For asphalt, you can either hire a contractor or rent the necessary equipment and do it yourself. Make sure the surface is smooth and level.
Painting the Lines
– Measuring and Marking
Once the surface is ready, measure and mark the court dimensions using a chalk line. Remember, a standard pickleball court is 20 feet wide and 44 feet long. Mark the sidelines, baselines, and non-volley zone (kitchen).
– Painting the Lines
Use acrylic or latex paint to draw the lines. You can use a paint roller or sprayer for this task. Ensure the lines are 2 inches wide for visibility. If you prefer, you can also use line tape for straight, clean edges.
Installing the Net
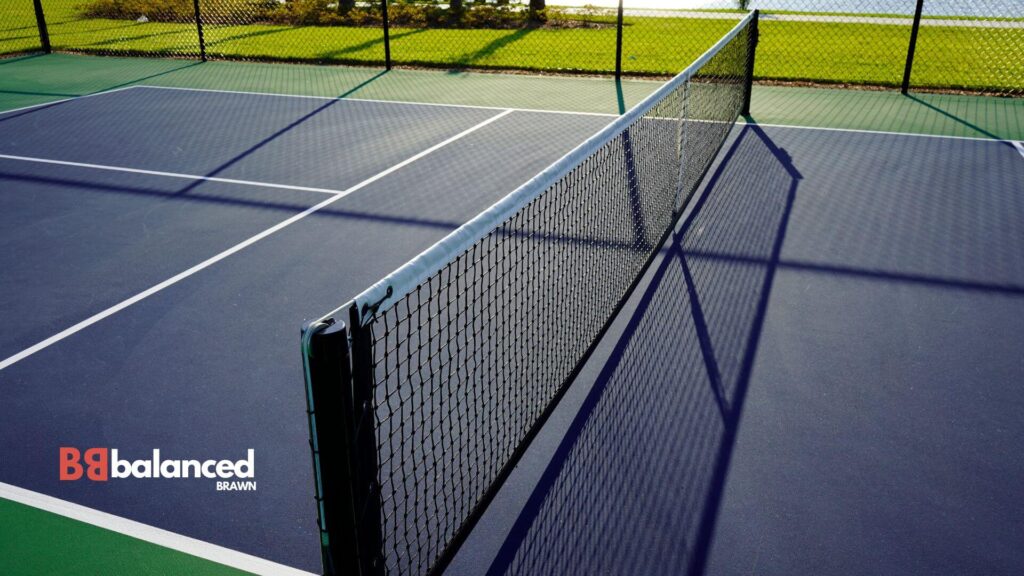
– Net Placement
The net should be 36 inches high at the sidelines and 34 inches high in the center. Position the net posts 22 feet apart, extending 1 foot beyond each sideline.
– Attaching the Net
Secure the net to the posts using the provided hooks or straps. Ensure the net is taut and at the correct height for proper play.
Optional Additions
– Fencing and Windbreaks
Adding fencing or windbreaks around your court can enhance the playing experience by reducing wind interference and keeping the ball within the court. Choose materials like chain link or mesh fabric for durability and visibility.
– Lighting
If you plan to play in the evenings, consider installing outdoor lighting around the court. LED lights are energy-efficient and provide excellent illumination.
– Seating and Shade
Install benches or seating areas around the court for players to rest. Adding shade structures, like umbrellas or canopies, can make the court more comfortable during hot weather.
Maintenance Tips
Regular maintenance will keep your pickleball court in top condition:
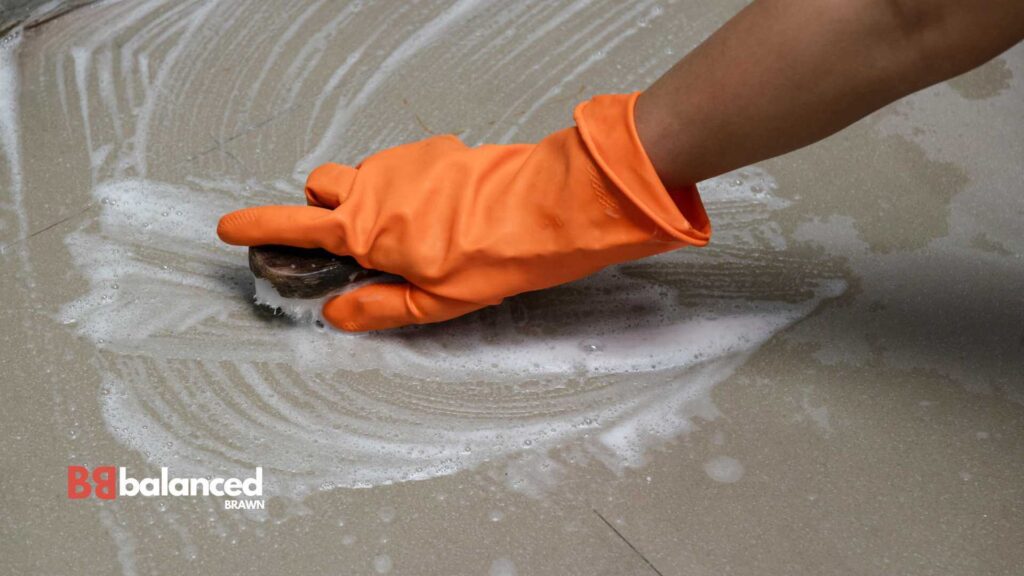
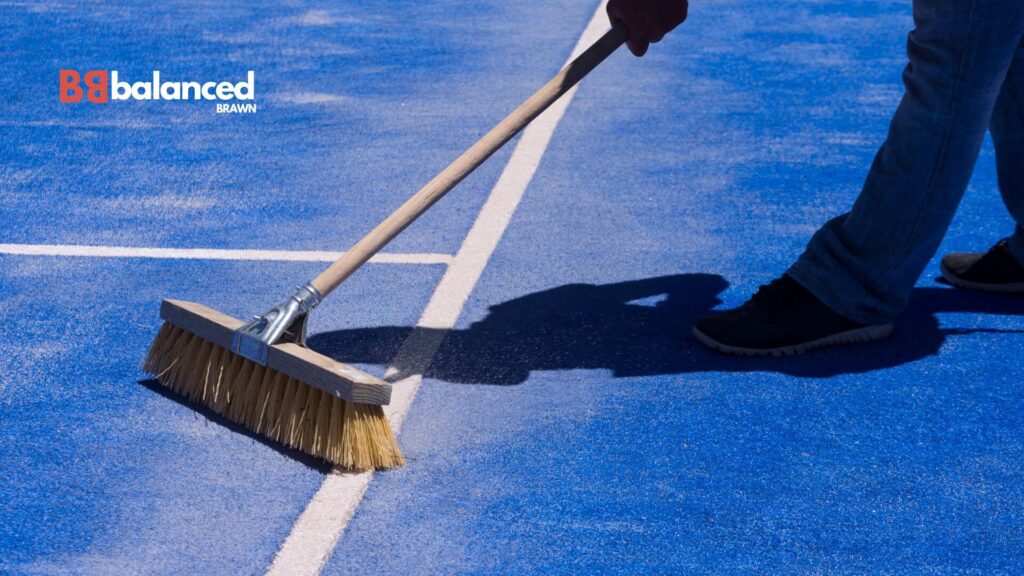
- Cleaning: Sweep or blow off debris regularly. Use a mild detergent and water to clean the surface as needed.
- Repairs: Address cracks or surface damage promptly to prevent further deterioration.
- Repainting: Repaint the lines every few years to maintain visibility.
Budget Considerations
Building a DIY pickleball court can vary in cost depending on the materials and optional additions you choose. Here’s a rough breakdown of potential expenses:
- Concrete Surface: $4,000 – $8,000
- Asphalt Surface: $3,000 – $7,000
- Pickleball Net: $100 – $200
- Paint and Tape: $50 – $200
- Fencing: $1,000 – $3,000
- Lighting: $500 – $2,000
- Seating and Shade: $200 – $1,000
Bottom Line
Building your own pickleball court is a fulfilling project that provides a convenient and enjoyable way to play this popular sport. By following this step-by-step guide, you can create a high-quality court that meets official specifications and provides years of fun. Remember, proper planning, preparation, and maintenance are key to ensuring your court remains in top condition.


Nice! I love hearing about great service. It’s always awesome when a website really takes care of its customers. Makes shopping way more fun!
Your comment is awaiting moderation.